So you finally got yourself that pool table you’ve always wanted, now the only thing left to do is to assemble it into your space! Many people think that assembling a pool table is work that’s best left to the professionals.
It may seem like you’ve got your work cut out for you, but if you have the right tools and follow these easy, foolproof steps on how to assemble a 3-piece slate pool table, then you’re all set!
As long as your tools are right and you follow the exact steps, you can finish your pool table assembly within 2 to 3 hours. So get started by looking for a place you want the table to be and get ready to get down and dirty (figuratively speaking).
Gather Your Tools
To get started, you will first need your tools. Finding the right tools for the job is absolutely critical to make the assembly process seamless.
Before the pool table is even delivered to your doorstep, you’ll want to have these tools ready so that you can begin your assembly immediately.
- Drilling machine
- Felt (also known as a pool table cloth)
- Glue (this is optional)
- Leveler
- Paint scraper
- Scissors
- Screwdriver
- Socket wrench
- Stapler
Steps to Assemble A Pool Table
Once you have your tools and equipment ready — and the complete parts of your pool table, of course, you’re now set to start assembling.
These steps reflect the procedure of assembling a 3-piece slate pool table. If you have a different type, you may need to undertake a different procedure.
1. Finding a Space for Your Pool Table
Before you pick up your tools and start assembling, you first have to select the perfect space for your pool table.
Once it’s assembled, it will be difficult for you to move it around, so you should nail the space first over anything else.
You might have already done this in anticipation of your delivery. But excitement aside, figure out if you’ve nailed the measurements.
The space you have should be bigger than the dimensions of the pool table itself. As much as possible, adhere to a minimum allowance of 5 feet of space on all sides of the table.
This should be enough room for the players to move around freely and position their cues to make their shots.
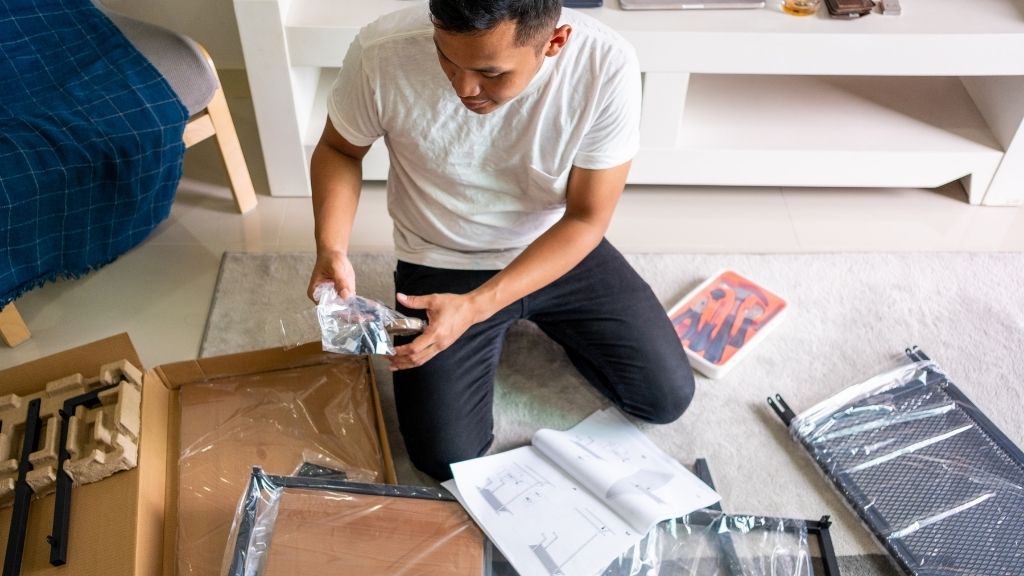
2. Removing the Packaging and Organizing the Parts
Removing the parts from the packaging might seem easy enough. You simply need to rip the plastic off or tear the cardboard, right?
Not really. Be extra careful while removing the packaging, as pool tables are made of delicate wood. You wouldn’t want to damage your table before you even get the chance to use it.
Once you remove the packaging, organize the parts in their own designated category. Hardware should go together, and nuts and bolts should all be in one place.
This will make it easier for you to find the pieces when you need them. Also, don’t forget to check your manual to see if all the parts are complete.
If there’s anything missing, hold off your assembly efforts and contact your supplier to send you the missing pieces first.
3. Building the Frame and Attaching the Legs
Some frames are delivered already preassembled, so all that’s left for you to do is to attach the legs. However, some models will need the extra work of building the frame yourself.
Take the main table cabinet and lay it upside down on the space you have allocated for the pool table. Then attach the panels in this order:
- Side panels
- End panels
- Framework
Refer to the installation and assembly guidelines that should have come with your pool table.
Next, attach the legs. Gather the hardware and the appropriate screws, as set forth in your user’s manual. Using your screwdriver, fasten the screws and bolts securely.
5. Placing the Slates
Now it’s time to place the slates. This can be easier said than done because slates are heavy pieces of hardware that need to be positioned properly to keep the table balanced.
Call a friend or ask someone to help you carry the slates and position them on top of the frame that you’ve successfully built.
Start with the center tile, which you should position at the center of the table. Then place the next two slates on the open spaces beside the center tile to fill the frame.
Take your carpenter’s leveler and check if the table is balanced. The level should be accurate and in the center. Otherwise, you’ll have to redo it to adjust the balance of your table.
When everything looks balanced, use your drilling machine or regular screwdriver to secure the screws in the proper places.
6. Laying Out the Felt
For this step, you’ll have to focus on one side at a time. Ensure that the felt is positioned in an exact location, keeping in mind the pocket holes and aiming for full surface coverage.
Start with the head side of the table and glue or staple the center edge of the felt in place. Next, staple or glue the felt to both the left and right sides of the table.
Before securing the felt in place on the foot of the table, make sure you pull the cloth and get rid of any wrinkles.
Even the slightest wrinkle can ruin the smoothness of the table and sabotage your game. Stretch it as far as it can go and then staple or glue the last side of the felt in place.
Learn More: Choose The Best Color For Pool Table Felt (7 Effective Tips)
7. Installing the Rails and Fixing the Pockets
Next, install the rails by simply settling the piece of wood on the corners of the table. Secure them in place by fastening the screws and bolts.
Now, for the pockets. Insert the pocket liners in the appropriate places. Make sure they’re inserted correctly before you secure them with screws.
Some pockets, however, would have different installation requirements. If your pocket linings do not have places for screws, they may need to be stapled to the underside of the pool table.
Refer to your user manual and look for the instructions for installing your specific kind of pocket linings.
Final Words
And there you have it! You’ve successfully assembled your pool table. Although it can be a bit of a struggle at the beginning, assembling a pool table is not that difficult as long as you follow the exact steps you should take.
Your manufacturer might offer free assembly and installation perks, so make sure you ask them or read the terms of your purchase.
If assembling your pool table yourself sounds like hard work and something you’re not capable of doing, you can always look to the professionals.
There are pool assembly services that can help you set it up. These services usually charge an average starting rate of $250, depending on the size and specifications of the table. Just have a quick search to see if anyone providing this service nearby your place.
Hiring a professional can make the task of assembling a pool table much more comfortable and quicker. But of course, that’s an extra expense that you have to make.
You might feel more fulfilled and save up on money if you assemble it on your own. Or you can always look for a pool table that’s preassembled and delivered right to your doorstep.
Keep Reading: